This guide is aimed at Canadian companies that are part of the delegation and explains how to manage the B2B meetings area. Below you will find detailed instructions on how to access and manage your appointments on the platform.
Guide for the management of your B2B area
Guide for Sellers
- Open your browser and navigate to the web address of the Login.
- Enter your username and password provided at the time of registration.
- Press the Sign In button to access your personal area.
If you do not remember your password:
- On the login page, click on the link Forgot password?
- Enter the email address associated with your account.
- You will receive an email with a link to reset your password.
- Follow the link and create a new password.
- Return to the login page, enter your new password and log in.
- Log in to the platform with your credentials.
- In the main dashboard, click on Appointments.
- Select the date of 3 February and the appointment you wish to confirm. A drop-down box will open.
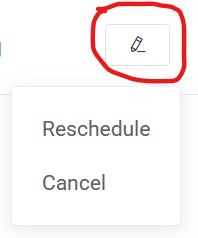
- Press the button that shows the pencil to edit.

- Check the details of your appointment request and click on the button to change the status from “pending” to “Confirmed

- Scroll down and click save
To reschedule or cancel an appointment you must follow the same procedure as for confirming the appointment.
Guide for Buyers
This guide is aimed at buyers who wish to schedule a meeting with companies in the Canadian delegation and explains how to manage the B2B meetings area. Below you will find detailed instructions on how to access and manage your appointments on the platform.
- Open your browser and navigate to the web address of the Login.
- Enter your username and password provided at the time of registration.
- Press the Sign In button to access your personal area.
If you do not remember your password:
- On the login page, click on the link Forgot password?
- Enter the email address associated with your account.
- You will receive an email with a link to reset your password.
- Follow the link and create a new password.
- Return to the login page, enter your new password and log in.
- Log in to the platform with your credentials.
- In the main dashboard, click on Appointments.
- Select the date of 3 February and the appointment you wish to confirm. A drop-down box will open.
- Press the button that shows the pencil to edit.

- Check the details of your appointment request and click on the button to change the status from “Reschedule” to “Cancel”
Scroll down and click save


